BS 5535:1978 / BS 939:2007 / BS 1685:2008
Accurate angle measurements are essential for ensuring the fit and function of mechanical components, structural elements, and various assemblies.
Rhopoint Metrology offers ISO 17025 certified calibration that guarantee your tools perform with exceptional accuracy and reliability.
Angle PlatesTo Top | ||||
| UKAS Calibration for Angle Plate – 150 x 150mm (6 x 6″) | UKAS | Add to Quote | ||
| UKAS Calibration for Angle Plate – 225 x 225mm (9 x 9″) | UKAS | Add to Quote | ||
| UKAS Calibration for Angle Plate – 300 x 300mm (12 x 12″) | UKAS | Add to Quote | ||
| UKAS Calibration for Angle Plate – 375 x 300mm (15 x 12″) | UKAS | Add to Quote | ||
| UKAS Calibration for Angle Plate – 450 x 300mm (18 x 12″) | UKAS | Add to Quote | ||
| Traceable Calibration for Angle Plate – 600 x 450mm (24 x 18″) | Traceable | Add to Quote | ||
| UKAS Calibration for Angle Plate – Combination (Vee) | UKAS | Add to Quote | ||
| UKAS Calibration for Angle Plate – Adjustable | UKAS | Add to Quote | ||
Box Angle PlatesTo Top | ||||
| UKAS Calibration for Box Angle Plates / Cubes – 150x125x100mm (6 x 5 x 4″) | UKAS | Add to Quote | ||
| UKAS Calibration for Box Angle Plates / Cubes – 175x150x125mm (7 x 6 x 5″) | UKAS | Add to Quote | ||
| UKAS Calibration for Box Angle Plates / Cubes – 225x175x150mm (9 x 7 x 6″) | UKAS | Add to Quote | ||
| UKAS Calibration for Box Angle Plates / Cubes – 300x250x225mm (12 x 10 x 9″) | UKAS | Add to Quote | ||
| UKAS Calibration for Box Angle Plates / Cubes – 450x300x225mm (18 x 12 x 9″) | UKAS | Add to Quote | ||
| UKAS Calibration for Box Angle Plates / Cubes – 450x400x600mm (18 x 16″ x24″) | UKAS | Add to Quote | ||
Combination SetsTo Top | ||||
| UKAS Calibration for Combination Sets | UKAS | Add to Quote | ||
Engineer’s SquaresTo Top | ||||
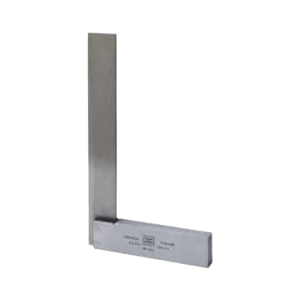
| UKAS Calibration for Engineer’s Squares – 150 mm (6″) | UKAS | Add to Quote | ||
| UKAS Calibration for Engineer’s Squares – 225mm (9″) | UKAS | Add to Quote | ||
| UKAS Calibration for Engineer’s Squares – Adjustable | UKAS | Add to Quote | ||
| UKAS Calibration for Engineer’s Squares – 300 mm (12″) | UKAS | Add to Quote | ||
| UKAS Calibration for Engineer’s Squares – 450 mm (18″) | UKAS | Add to Quote | ||
| UKAS Calibration for Engineer’s Squares – 600 mm (24″) | UKAS | Add to Quote | ||
| UKAS Calibration for Engineer’s Squares – 900 mm (36″) | UKAS | Add to Quote | ||
| Traceable Calibration for Engineer’s Squares – 1200 mm (48″) | Traceable | Add to Quote | ||
| Traceable Calibration for Engineers Square – T-Square – Up to 1500mm (Up to 60″) | Traceable | Add to Quote | ||
ProtractorsTo Top | ||||
| UKAS Calibration for Bevel Protractor | UKAS | Add to Quote | ||
| UKAS Calibration for Digital Protractor | UKAS | Add to Quote | ||
Block SquaresTo Top | ||||
| UKAS Calibration for Block Square – 150 X 150mm (6 X 6″) | UKAS | Add to Quote | ||
| UKAS Calibration for Block Square – 225 X 225mm (9 X 9″) | UKAS | Add to Quote | ||
| UKAS Calibration for Block Square – 300 X 300mm (12 X 12″) | UKAS | Add to Quote | ||
| UKAS Calibration for Block Square – 375 X 300mm (15 X 12″) | UKAS | Add to Quote | ||
| UKAS Calibration for Block Square – 450 X 300mm (18 X 12″) | UKAS | Add to Quote | ||
| UKAS Calibration for Block Square – 600 X 450mm (24 X 18″) | UKAS | Add to Quote | ||
| Traceable Calibration for Block Square – 600 X 450mm (24 X 18″) | Traceable | Add to Quote | ||
| UKAS Calibration for Block Square – 800 x 500mm (32 x 20″) | UKAS | Add to Quote | ||
| Traceable Calibration for Block Square – 800 x 500mm (32 x 20″) | Traceable | Add to Quote | ||
Cylindrical SquaresTo Top | ||||
| UKAS Calibration for Cylindrical Squares – Up to 300 mm (Up To 12″) | UKAS | Add to Quote | ||
| UKAS Calibration for Cylindrical Squares – 450 mm (18″) | UKAS | Add to Quote | ||
| UKAS Calibration for Cylindrical Squares – 600 mm (24″) | UKAS | Add to Quote | ||
| Traceable Calibration for Cylindrical Squares – 600 mm (24″) | Traceable | Add to Quote | ||
| UKAS Calibration for Cylindrical Squares – 900 mm (36″) | UKAS | Add to Quote | ||
| Traceable Calibration for Cylindrical Squares – 900 mm (36″) | Traceable | Add to Quote | ||
| Traceable Calibration for Cylindrical Squares – Above 900 mm (Above 36″) | Traceable | Add to Quote | ||
Ultrasonic Test BlocksTo Top | ||||
| UKAS Calibration for A4 Calibration Block | UKAS | Add to Quote | ||
| UKAS Calibration for A2 Calibration Block | UKAS | Add to Quote | ||
| UKAS Calibration for A6 Ultrasonic Test Block | UKAS | Add to Quote | ||
If you haven’t found the calibration you require or need some further assistance with your requirement, contact us using this form and we can find the solution you are looking for.
To ensure we can promptly address your calibration enquiry, please complete the form with all the necessary details. This will help us to provide you with accurate and timely assistance.
For urgent enquiries, please contact us directly via phone at:
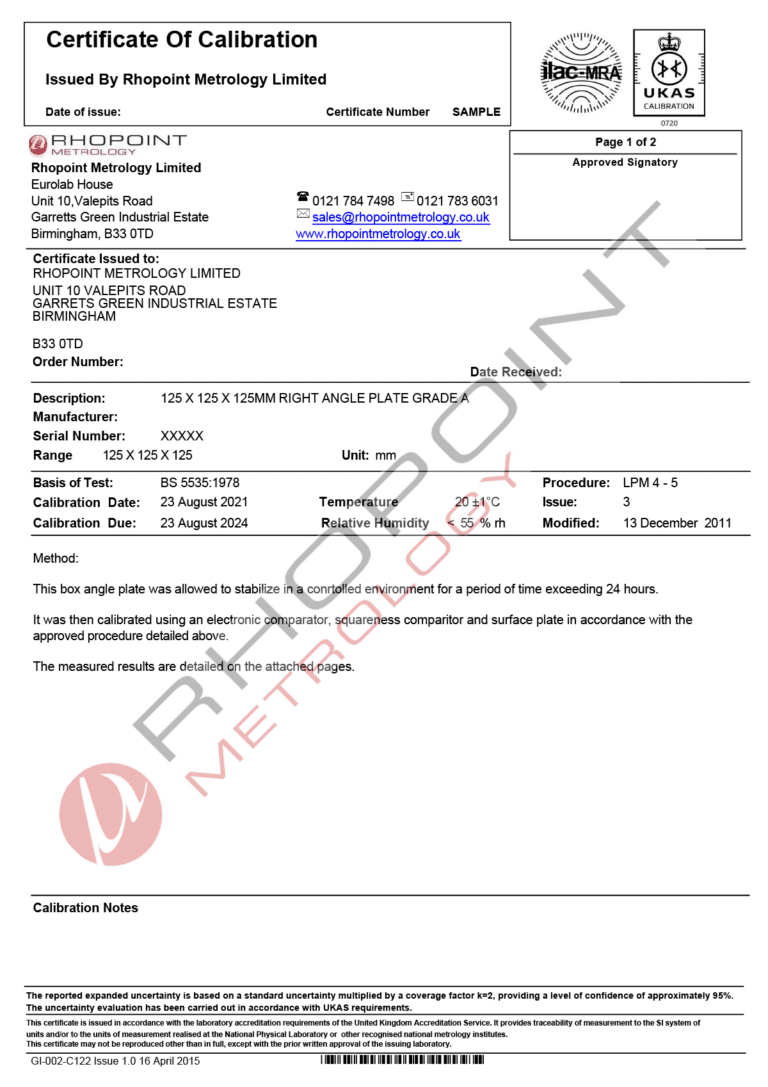
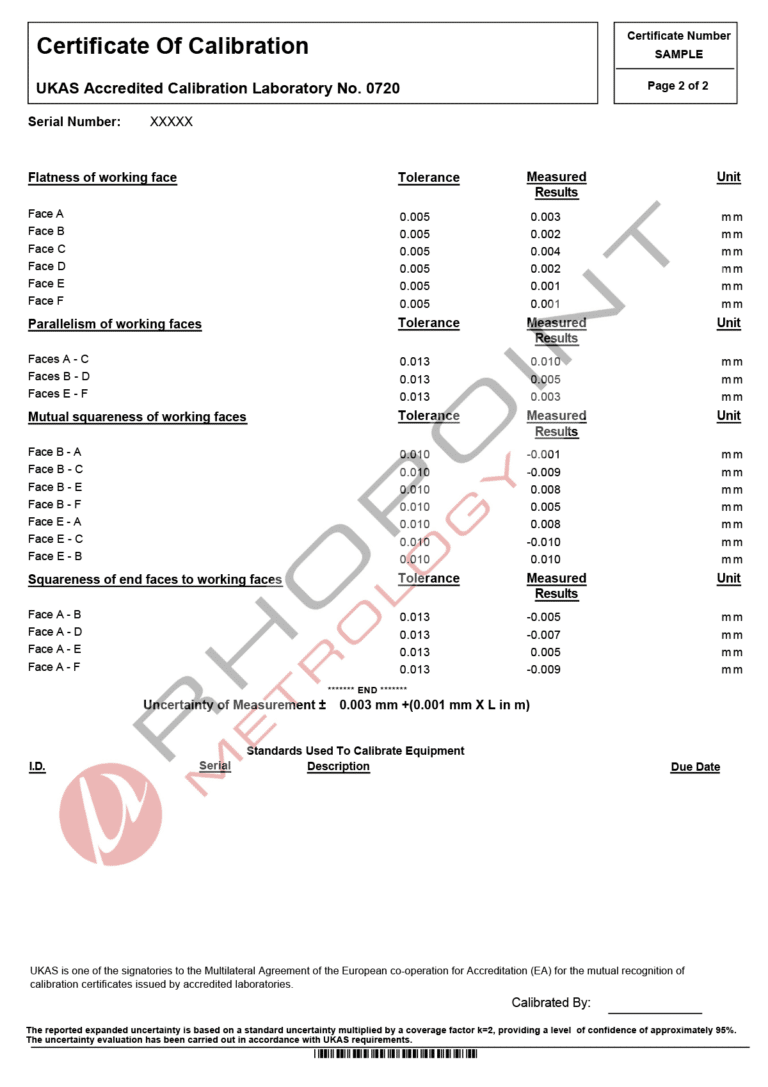
Below is a layout for a typical in-house calibration for an angle plate.


All of our Laboratories are accredited to provide UKAS & Traceable calibrations to all the relevant standards giving you peace of mind.
Make consistent, accurate and reliable measurements
Ensure longevity of the measuring instruments
Ensure safety in critical applications such as medical and aerospace
|
Uploaded
Failed
|
 |