Our services are available onsite or at our laboratories based in Birmingham and Bristol. Enquire now for pricing.
External MicrometerTo Top | ||||
| UKAS Calibration for Micrometers – External – up to 150 mm (up to 6″) | UKAS | Add to Quote | ||
| UKAS Calibration for Micrometers – External – 150 – 300 mm (6″ – 12″) | UKAS | Add to Quote | ||
| UKAS Calibration for Micrometers – External – 300 – 600 mm (12 – 24″) | UKAS | Add to Quote | ||
If you haven’t found the calibration you require or need some further assistance with your requirement, contact us using this form and we can find the solution you are looking for.
To ensure we can promptly address your calibration enquiry, please complete the form with all the necessary details. This will help us to provide you with accurate and timely assistance.
For urgent enquiries, please contact us directly via phone at:
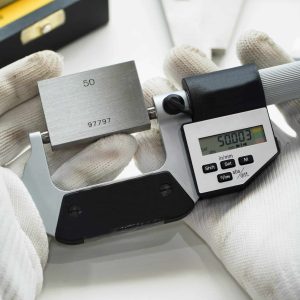
This standard covers external micrometers from 0 – 24″/0 – 600mm including micrometers with interchangeable anvils and also setting standards for micrometers. The manufacturing specifications and associate accuracy requirements of this standard are complex and it may be uneconomical for any company or institution to invest in equipment to the level required in order to calibrate micrometers fully in accordance with the standard.
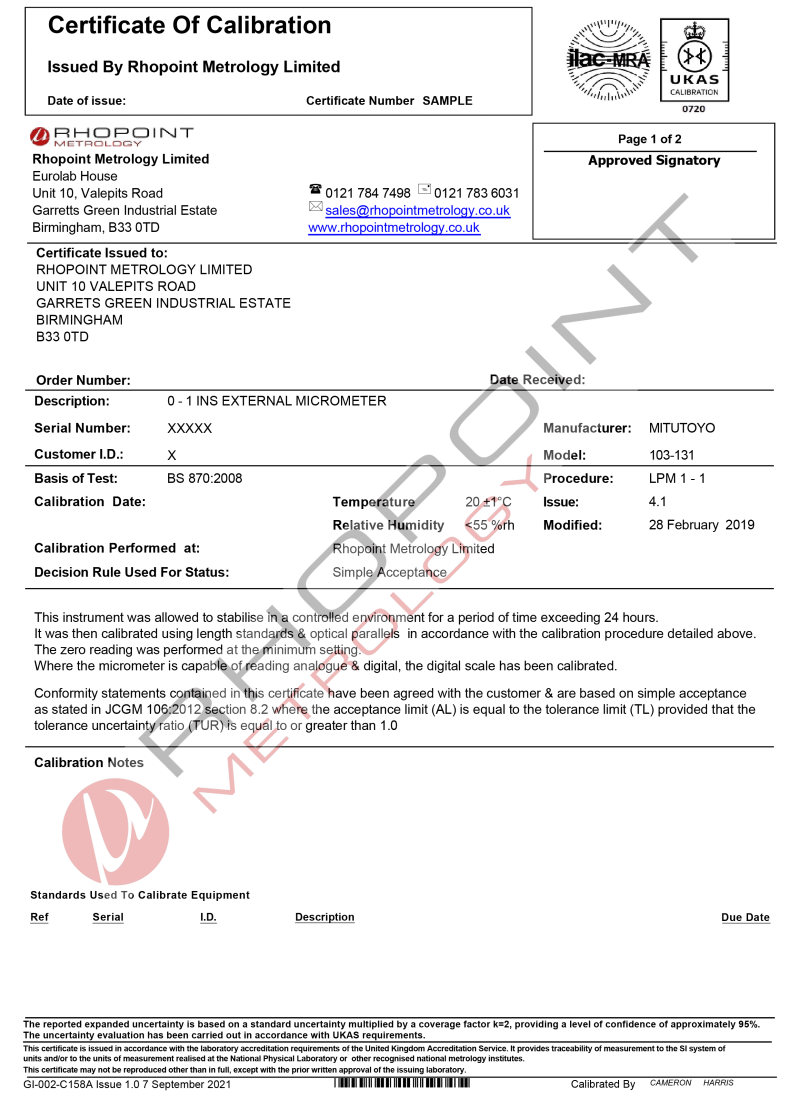
It is highly recommended that an appropriate authority such as a UKAS approved laboratory carries out a full calibration on micrometers at least once a year. In between UKAS calibrations at a frequency based on usage micrometers should be calibrated in-house. A typical in-house calibration would include a written procedure and an associated calibration record sheet which would contain as a minimum the following listed information:
(a) Serial number
(b) Location
(c) Procedure number
(d) The flatness of anvils of new micrometers
(e) The flatness of anvils of used micrometers
(f) The linearity of the micrometer screw
(g) Results
(h) Measurement uncertainty
(i) Sentence if appropriate
(j) Date and calibrators signature
(k) Traceability to National Standards
It is necessary that any person carrying out such calibration work should have received appropriate training and have shown the ability to be confident via a suitable training authority. Training records should be held and maintained.
On the following page is a layout for a typical in-house calibration for a 0 – 25mm micrometer.
Calibration to be carried out in accordance with in-house procedure number …………………..
Serial Number: Make:
Calibration Date: Range:
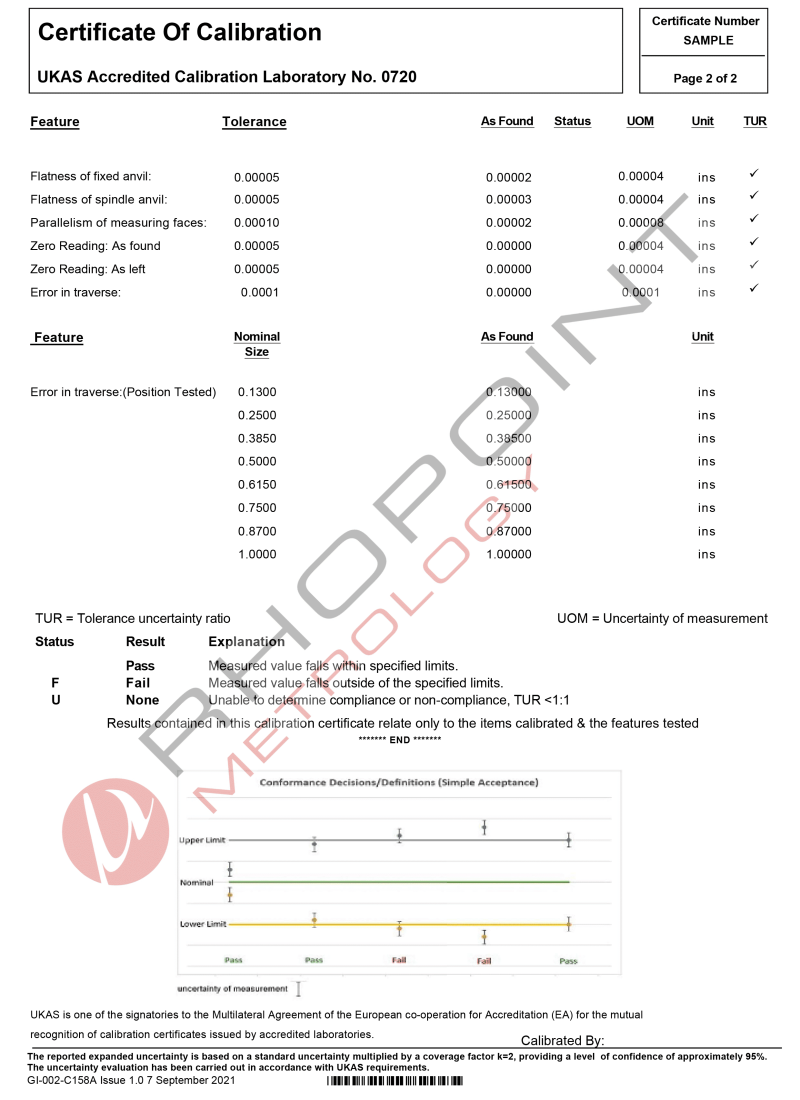
| FEATURE EXAMINED | SPEC (METRIC) | SPEC (IMPERIAL) | MEASURED RESULTS (METRIC) | MEASURED RESULTS (IMPERIAL) |
|---|---|---|---|---|
| Zero reading as received | ||||
| Parallelism of measuring faces | ||||
| Flatness of fixed anvil | ||||
| Parallelism of spindle anvil | ||||
| Error in traverse of micrometer screw |
The micrometer was mechanically and visually inspected for performance, damage, wear and missing parts and the
following faults were noted:
MEASUREMENT UNCERTAINTY +/- 0.002mm (between any 2 points)
Calibrators Signature: …………………………………. Sentence: ………………………………
Report:
A traceability statement in this section would be required for all items and their relevant certification utilised for the calibration of the micrometer.
Below is a layout for a typical in-house calibration for an external micrometer.


All of our Laboratories are accredited to provide UKAS & Traceable calibrations to all the relevant standards giving you peace of mind.
Make consistent, accurate and reliable measurements
Ensure longevity of the measuring instruments
Ensure safety in critical applications such as medical and aerospace
Rhopoint Metrology Ltd Eurolab House, Unit 10 Valepits Road, Garretts Green Industrial Estate, Birmingham, B33 0TD
Rhopoint Metrology Ltd Brunel House, 28 Old Mills Industrial Estate, Paulton, BS39 7SU