British Standard Reference : BS 870 : 2008
1. Select the micrometer that best suits your requirement. Ensure that the type, measuring range, graduation and other relevant specifications of the micrometer are appropriate for your application.
2. Always use the ratchet or friction thimble in the appropriate manner, never rotate the micrometer thimble violently.
3. Avoid parallax errors by reading the micrometer and vernier scales directly from the front and square on.
4. Do not apply excessive force to the micrometer thimble. Should you be unfortunate and drop a micrometer, do not use until the micrometer has been re-calibrated/repaired by an appropriate repair agent.
5. Clean the micrometer after use with a lint free paper or cloth.
6. Always ensure that both the gauge and workpiece have stabilised to ambient temperature before measurements are taken.
7. Adjust the zero line in the ambient temperature that the micrometer is going to be used, remember that a micrometer should be calibrated at 20 deg.C, it may be used in varying ambient temperatures.
8. Should you mount a micrometer in a stand, ensure that the micrometer frame is clamped at the centre, do not clamp it too tightly and in any case carry out a zero check in the clamped position. If in doubt consult an appropriate authority.
9. When storing micrometers for long periods of time, or when they need oiling, use a lint free paper or cloth dampened with a rust preventative oil and lightly wipe each section, ensure that the oil is spread evenly over the surfaces.
10. Always leave the measuring faces separated and when not in use, always place micrometer in its case.
11. Never leave or store the micrometer for long periods of time in a high humidity environment.
12. Never use a micrometer that has not been calibrated, if in doubt consult an appropriate authority.
This standard covers external micrometers from 0 – 24″/0 – 600mm including micrometers with interchangeable anvils and also setting standards for micrometers. The manufacturing specifications and associate accuracy requirements of this standard are complex and it may be uneconomical for any company or institution to invest in equipment to the level required in order to calibrate micrometers fully in accordance with the standard.
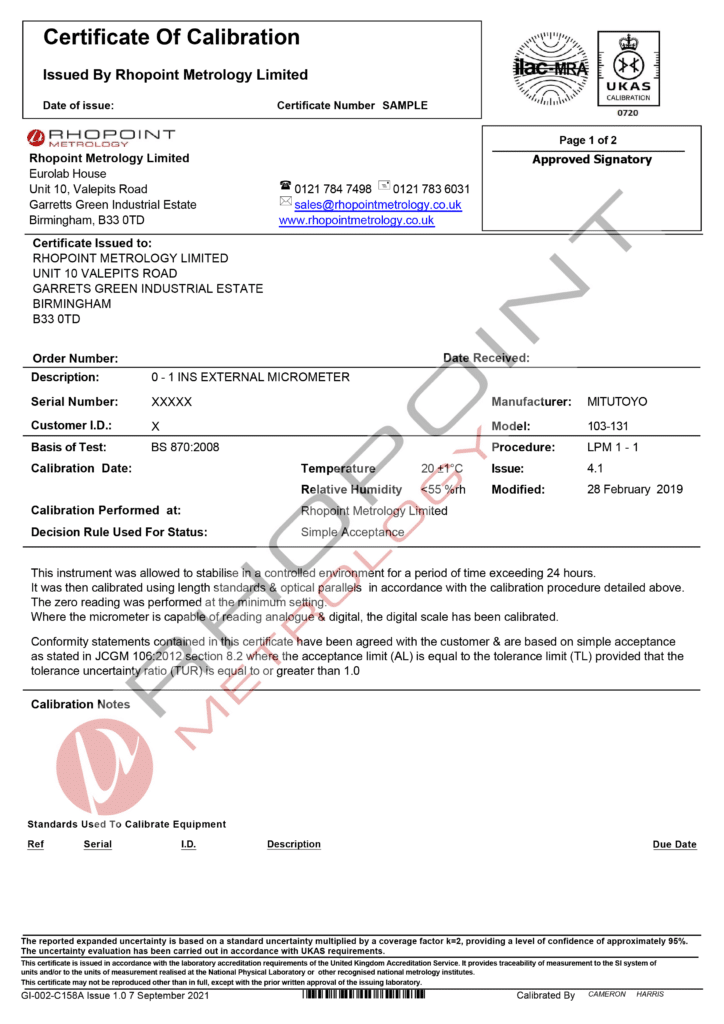
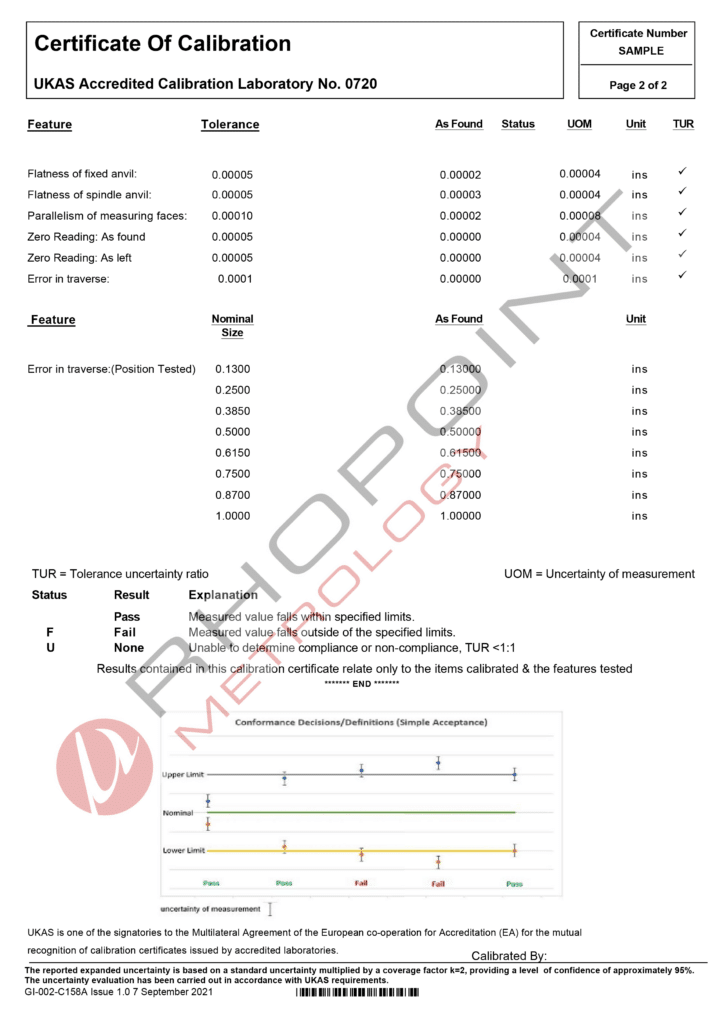
It is highly recommended that an appropriate authority such as a UKAS approved laboratory carries out a full calibration on micrometers at least once a year. In between UKAS calibrations at a frequency based on usage micrometers should be calibrated in-house. A typical in-house calibration would include a written procedure and an associated calibration record sheet which would contain as a minimum the following listed information:
(a) Serial number
(b) Location
(c) Procedure number
(d) The flatness of anvils of new micrometers
(e) The flatness of anvils of used micrometers
(f) The linearity of the micrometer screw
(g) Results
(h) Measurement uncertainty
(i) Sentence if appropriate
(j) Date and calibrators signature
(k) Traceability to National Standards
It is necessary that any person carrying out such calibration work should have received appropriate training and have shown the ability to be confident via a suitable training authority. Training records should be held and maintained.


|
Uploaded
Failed
|
 |